When it comes to 3D printing, proper preparation of STL and 3MF files is crucial for achieving optimal results. Many makers underestimate the importance of configuring their slicers, which can lead to defective prints and material wastage. In this tutorial, we will delve into how to use OrcaSlicer and PrusaSlicer to tailor them to your needs, the choice of layer height, and the use of supports for a flawless finish.
Fundamentals of STL and 3MF Files
STL files have been the de facto standard in 3D printing for years due to their simplicity, but 3MF files are quickly gaining ground. The main difference lies in information management: 3MF files can contain more metadata, such as colors, textures, and complex geometries, making it easier to print detailed models. When choosing between the two, you need to assist your slicer in interpreting the model correctly. This has a direct impact on how your printing configurations are parameterized and how the material will behave during printing.
Configuring OrcaSlicer and PrusaSlicer
Both slicers have their peculiarities, but OrcaSlicer’s user-friendly interface allows for quick adjustments without complications. Define parameters such as filament diameter, nozzle temperature, and bed temperature, and be sure to experiment with layer height. This is one of the most critical aspects because a lower layer height improves print quality but may increase manufacturing time. PrusaSlicer, on the other hand, offers a robust system of pre-set profiles that you can customize based on the machine and material you are using.
The Importance of Layer Height
Layer height is a critical factor that determines print quality and speed. Generally, it is recommended to use a layer height between 0.1 mm and 0.3 mm, depending on the model’s complexity and the desired finish. A lower layer height improves resolution, capturing more details but at the cost of increased printing time; a thicker layer delivers faster printing, ideal for prototypes. In OrcaSlicer, customizing layer height is simple and straightforward, allowing you to adjust it based on your specific needs for each project.
Supports: Necessary or Not?
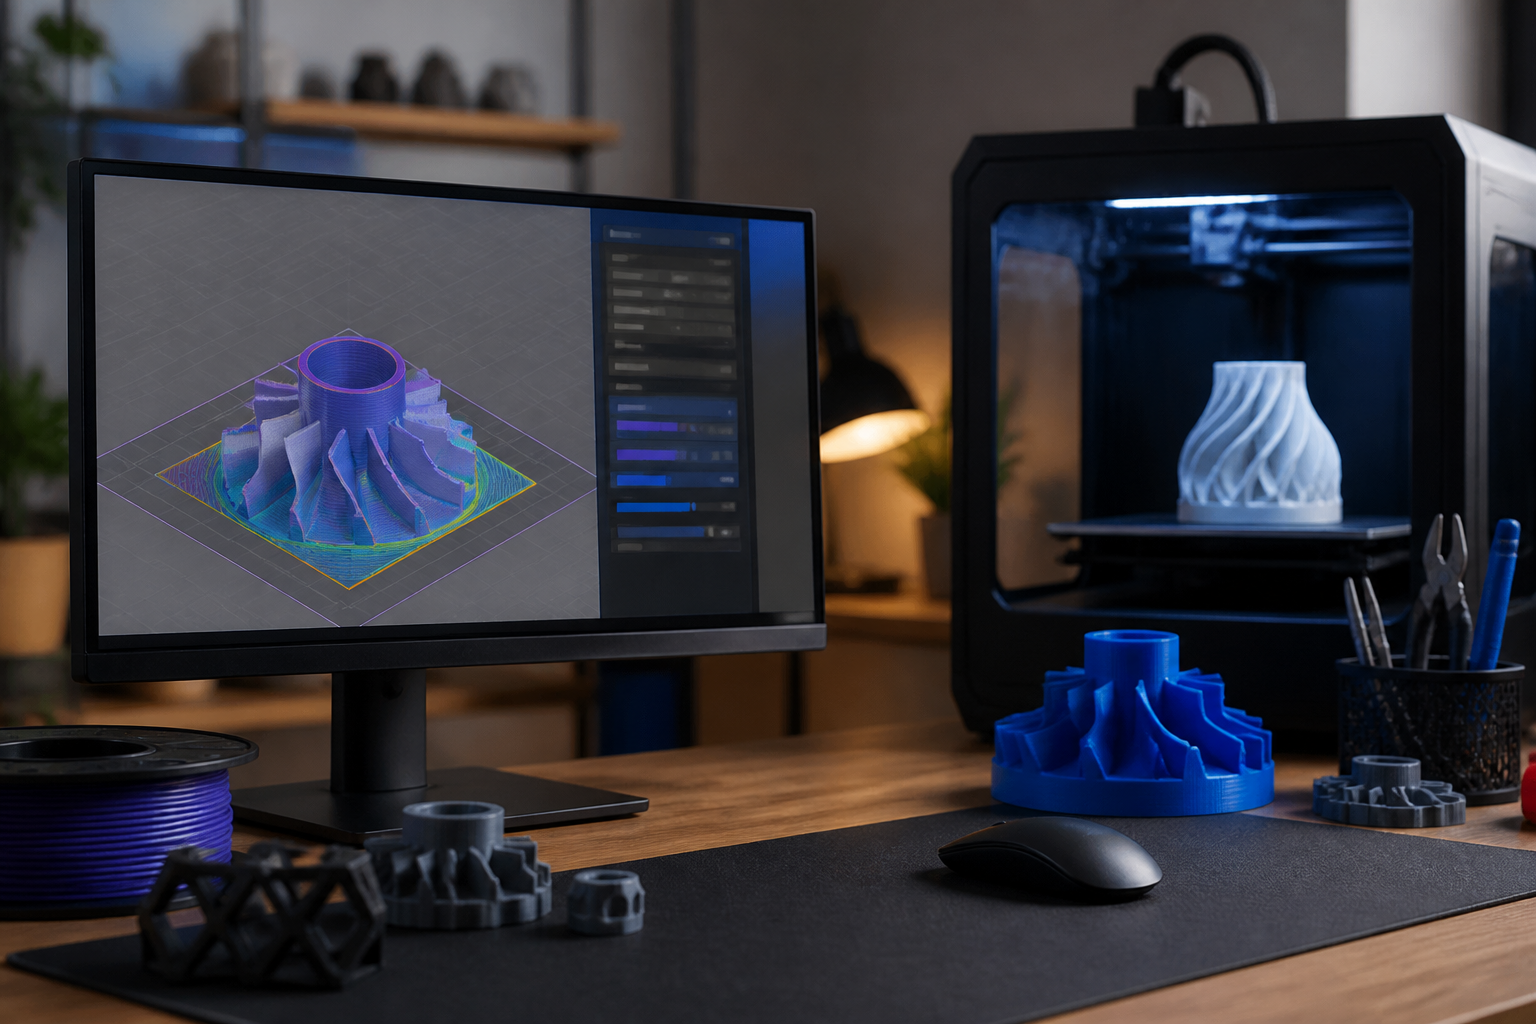
The use of supports is one of the most debated decisions in 3D printing. Depending on the model geometry, they may be strictly necessary to ensure a successful print. Both OrcaSlicer and PrusaSlicer offer advanced options for generating supports. In general, use ‘Tree’ supports on models with complex shapes that require stability, while traditional supports may suffice for simpler geometries. Be sure to use the preview feature in your slicer to avoid surprises at the end of the print.
Best Practices and Common Mistakes
Some of the most common mistakes include underestimating the nozzle temperature and misusing layer height. It’s also common to choose supports without considering the model’s geometry. Always conduct tests before doing a final print. Additionally, ensure to calibrate your printer according to each material’s parameters and keep your firmware updated to take full advantage of OrcaSlicer and PrusaSlicer’s new features. Experience improves as you experiment and continuously adjust your settings.
Properly configuring your slicers is the key to maximizing your 3D prints. With the right tools and techniques, you can reduce wastage time and enhance the quality of your creative projects.
Keywords: OrcaSlicer, PrusaSlicer, altura de capa, soportes
Views: 12