
Introduction: The New Era of 3D Printing
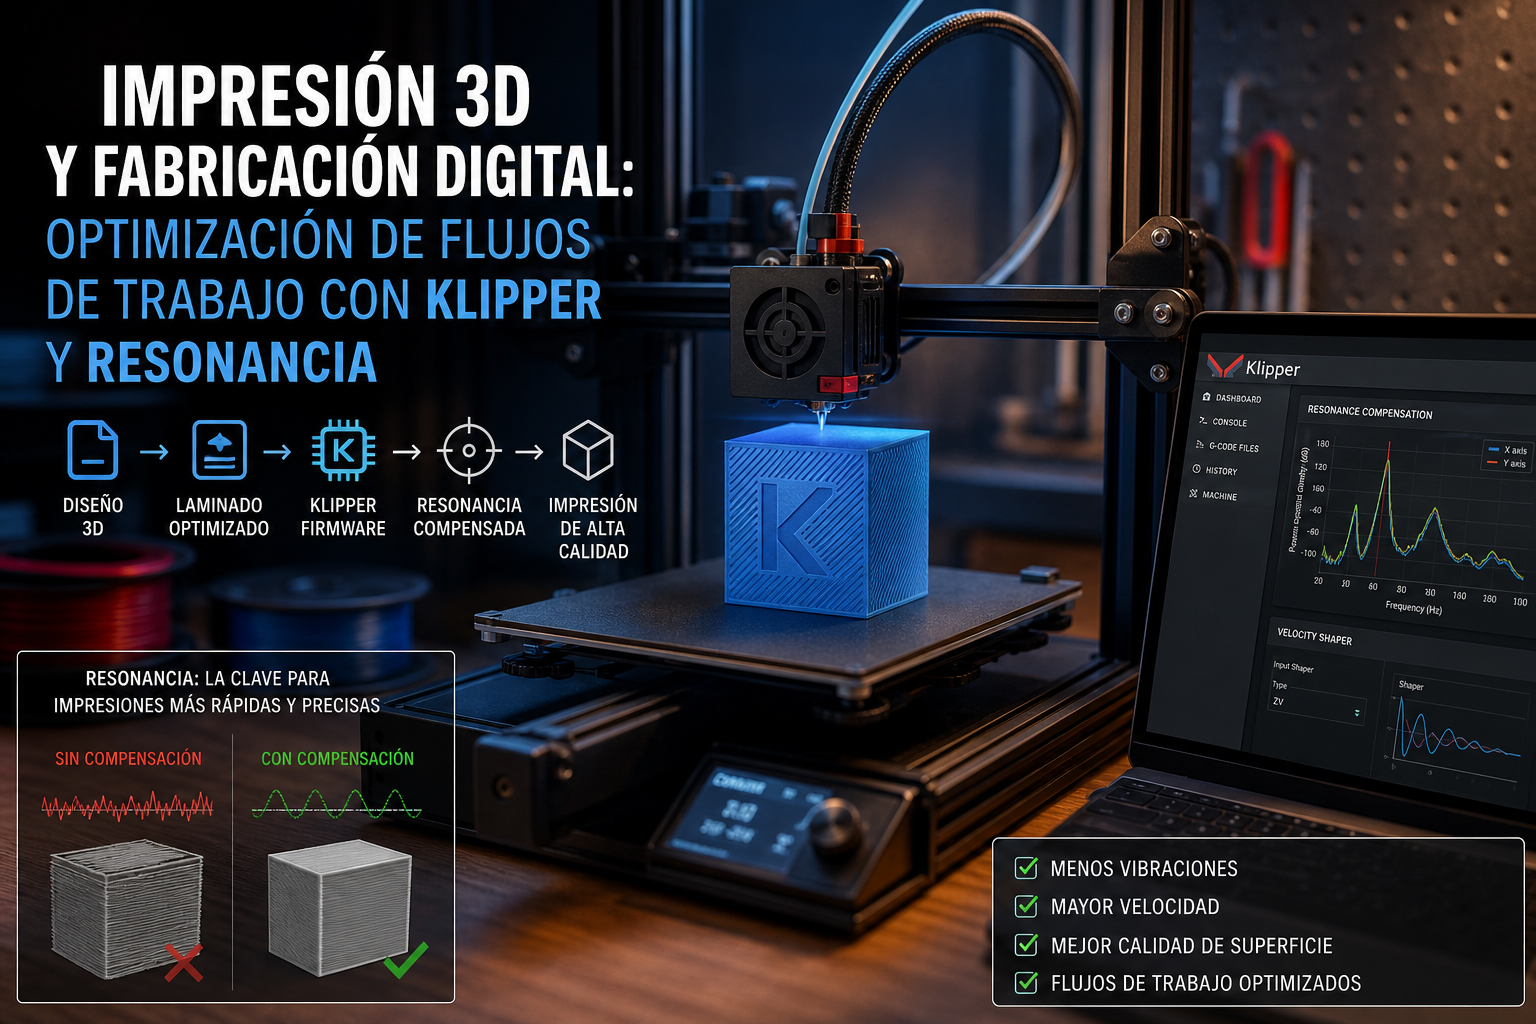
In a world where speed and precision are essential, 3D printing has become an indispensable tool for designers and engineers. But how can this technology reach the next level? Enter the realm of workflow optimization through the use of Klipper, a firmware that significantly enhances 3D printer performance. In this article, we will explore key concepts like Input Shaper and axis calibration, along with how an accelerometer can transform your digital fabrication projects.
Input Shaper: The Secret to Precise Printing
The Input Shaper is a technique that allows you to anticipate and mitigate the effects of resonance in 3D printers. This phenomenon is particularly problematic during rapid movements, where vibrations can lead to imperfections in printed models. An accelerometer is used to measure these vibrations and adjust the parameters in Klipper’s firmware, thereby optimizing print quality.
Implementing the Input Shaper
To implement the Input Shaper, it is crucial to follow these steps:
- Install and configure the accelerometer on your printer.
- Run tests to measure vibrations during movement.
- Modify the parameters in the Klipper firmware based on the readings obtained.
Axis Calibration: The Foundation of Precision
Axis calibration is another critical aspect that cannot be overlooked. Ensuring that your printer’s axes are properly calibrated is essential for reducing machine wear and improving the overall print quality. Accurate calibration guarantees that every movement is precise, which reduces errors and enhances the first layer crucial for a good final result.
Calibration Practices
For effective axis calibration, consider the following:
- Use precise measuring tools to assess the distance traveled by each axis.
- Make adjustments in the firmware based on the measurements.
- Conduct multiple test prints to verify accuracy.
Beginner Mistakes: What to Avoid
Even the most experienced can fall into common traps. Some mistakes to avoid include:
- Not conducting vibration tests and omitting the implementation of the Input Shaper.
- Ignoring regular axis calibration.
- Failing to update the Klipper firmware to the latest version, which includes optimizations and fixes.
Conclusion: A Practical Tip
Optimization in 3D printing is not just an option but a necessity for any professional seeking high-quality results. Implementing techniques like Input Shaper and maintaining regular axis calibration can make a significant difference. So before you kick off your next project, ensure your firmware is well-configured and your axes are calibrated. Precision is the first step towards innovation!
Keywords: Input Shaper, acelerómetro, firmware, calibración del eje
Views: 0